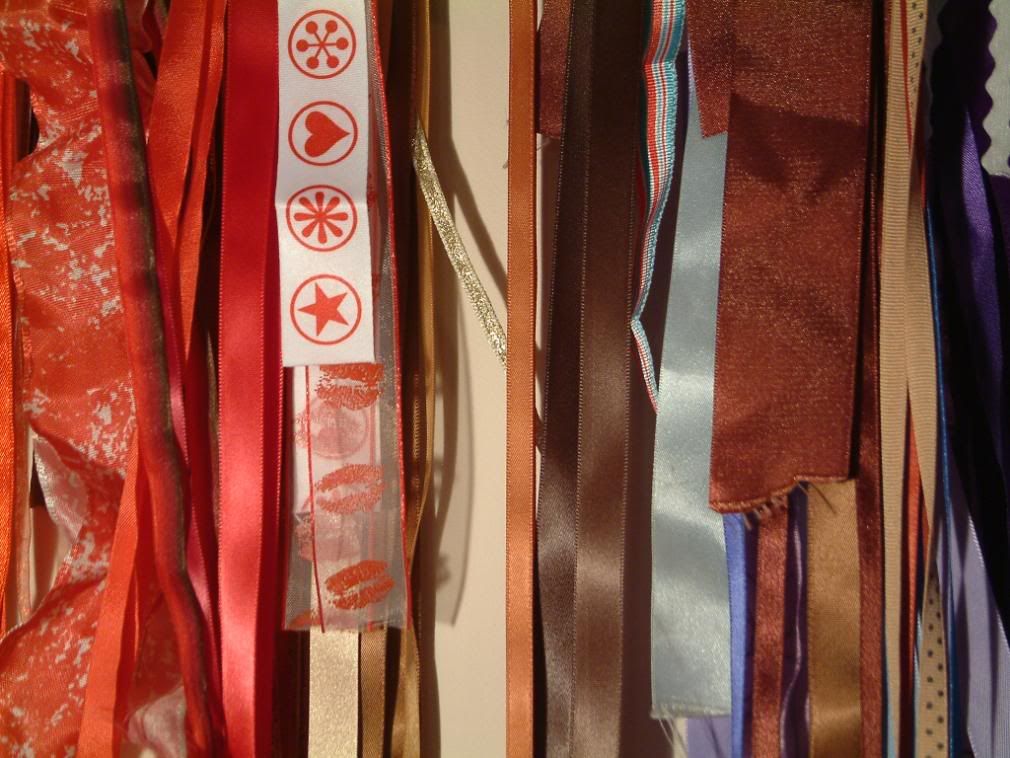
Showing posts with label embellishments. Show all posts

Tuesday, June 15, 2010

What embellishments? and Tearoom ideas!

I have been away from here again... sooo busy which is great... but I hope you have been making good use of the links on this blog to take you to the other blogs and all the other items I have written and photographed over the last 3 years.

I've just checked back actually and I started this blog back in April 2007, how time flies - although it feels like I have always had this blog!

Anyway, to stay in touch keep checking the Main Site and the new TallyHoTearooms website too.

But here are a couple of links for you anyway...


UKScrappers Challenge Scrapbook Page
As some of you may remember I am part of a Scrapbooking “cyber” team over on UKScrappers.co.uk and this week it was our Team’s turn to set the Challenge for anyone who wants to take part.
This is what it says…

What Embellishments?
I received a request for my advice today on the subject of embellishments, and what to use. I have been asked this question a number of times, different types of photos, but it’s the same answer I give.Of course there are many themed embellishments out there, you know, such as dog bone brads!, but I [...]

So Much More to Come!
I have such plans for the Tearooms, but we have been sooooo busy (which is fantastic) that I have not had a chance to organise much.Firstly, due to demand, we have made some Gluten [...]

Time for a Change!
... “of what?” you may ask.
Well sometimes you just need a change of scenery! this was my scenery this afternoon, after deciding that I needed to “get out” and clear my head of numbers! [...]

Sunday, May 10, 2009

Video - How to easily Store your stickers, rub-ons, chipboard, diecuts in one place

I wrote this article (and made the video) for a past issue of the SimplyScrapbookingNow.com Newsletter. I reproduce it here for you as I was reminded of the subject again recently when someone asked me... "How do you store all your sheets of stickers, etc?"...


I am often asked about how I store all my packets of stash such as stickers and diecuts and rub-ons, etc. Many scrapbookers have all sorts of packets in all sorts of places and find it difficult to keep them all organised.

Well I keep all mine in Lever Arch folders!


These folders are for keeping all my sheets of stickers, etc, the more bulky items such as very thick chipboard still remain in their packaging boxes, but this system is ideal for all those flat, but differently shaped and sized sheets.

The items are filed in different sections within each folder, ie, (1) Alphas and (2) Words and Phrases are in the Pink folder shown above and (3) Graphics are in the multi-coloured folder.

Within each folder I have placed ordinary clear sleeves with standard punched hole margins, and within each of the sleeves I have placed a white piece of paper.


The reason for adding the paper is two-fold, firstly it makes the sleeves a little more rigid and secondly, I can put twice as much in my folder because I can place separate items either side of the paper within the same sleeve because it is no longer completely transparent.

Another advantage is that often your stickers or rub-ons are attached to a transparent sheet and with the paper already in the sleeve you can 'ditch' the piece of card and cellophane wrapper to save on weight, as the white paper does the same job or showing up the contents.

It is very easy to flip through the pages looking for what you need for your scrapbooking project.


The folders are highly portable, unlike the hanging trees and poles for your craft room, so you can take your sheets of stickers, etc to crops with you, kept all in one album/folder.


The reason I use Lever Arch files as opposed to ordinary ring binders is because they are nice and wide and therefore take a lot more, they stand up easily by themselves on my crafting shelves, but the best part is that with the clip retainer on lever arch folders you can clip down the sleeves tightly so that they don't fall about all over the place!


So that's how I store my bits and pieces!

Sunday, April 05, 2009

2 Videos - Stitch & Craft Show and a Paper Tearing Technique

Well it's been fun and games at my house!... I have finally managed to edit the videos from the Stitch and Craft show, but only because I have borrowed someone else's machine to do it! (see end)

So below is that video of the Stitch and Craft Show and underneath that is another video! That one is about How to Make Layered Flowers by ripping paper. Quite a useful technique... especially if you have forgotten your scissors! LOL The flowers can be used for scrapbooking pages and for cards, both of which I show you in the "How To" Video.

I hope you enjoy them!


As I mentioned above I, and my computer shop owning friend have spent hours trying to figure out why not one, but two video editing suites won't work on my laptop after it's new hard drive!! I am determined to conquer... not giving up on this one!

Sunday, November 30, 2008

SimplyScrapbookingNow.com December Newsletter and a Scrapbooking Video

Hi there everyone!

I have just uploaded the December issue of the SimplyScrapbookingNow.com Newsletter. Couple of videos in that and a freebie download of journaling blocks.

You need to be a subscriber to enjoy the benefits and you can do that by placing your name and email address in the boxes at the top left of this blog OR by going to the SimplyScrapbookingNow.com website and signing up there OR if you have already visited and entered your name and email address at http://www.easyribbonholder.com/ (or .co.uk) site then you are already signed up!

I have found a great video on You Tube about making your own Prima Lollipop flowers. It's by Julie Fei-Fan Balzer and her blog is HERE, there are some great layouts on there too.

So here is the video...

Tuesday, September 09, 2008

Scrapbooking Videos - "A Welcome" and "Blooms"

Well I have been busy tonight! Round of applause please! LOL

"Why?" I hear you say. Well because I have managed not only to make a welcome video and a little scrapbooking video, but I have managed to edit them and upload them and include them here on this blog... and work it out all by myself!

Well I'm pleased anyway!

So without further ado... if you look to your left there is now a "Welcome" video from yours truly and just under here is the first of the SimplyScrapbookingNow.com videos!

This is a blog exclusive!


I hope you enjoy! Let me know what you think!

Tuesday, July 01, 2008

Keeping your ribbons in place

I, like a lot of people, like to put ribbons and fibres on the book rings of my projects.

Pictured is a paper bag book album.

Some ribbons, such as rikrak and some of the cheaper ribbons are happy to be tied once and stay put on the rings. Others, however, (the better quality, double sided ones) quite often untie themselves.

I had to re-tie a number of ribbons which had fallen off on a recent Circle Journal!

So, some tips for keeping the ribbons, etc, where you put them...

1. Try knotting the ribbon twice, sometimes this is all that's needed.

2. Once you have tied the ribbon, you can use a bit of pvc glue "inside" the knot, using a clip of some sort to hold it place whilst it dries. The thin precision nozzles on a number of crafters pvc glue bottles makes this easy.

3. Tie the ribbon once and then use a brad to hold it. Can make for nice decoration if you use a contrasting colour.

Happy tying!! again

Monday, May 19, 2008

Button challenge

Ok this week, I shall be challenging myself to use some of my buttons!

Want to join me?

A very versatile embellishment - just adding a few to a layout can make all the difference you know.

I like to group them for best effect, but they can be used as centres for flowers, or even matting single ones on patterned or plain contrasting paper can make a lovely feature on a page.

For the larger and less colourful buttons, I have seen patterned paper added to the middles of buttons to "pep" them up. Colours such as black that may not ordinarily be used on a layout as they are because they are just "too" dark make good subjects as outlines for patterned paper.

So... now to make a few more pages to house my lovely buttons!

Thursday, April 17, 2008

RibbonTastic!

My demonstration/workshop at the ScrapBuddies crop this coming Saturday will be all about Ribbons!

Ahhh… Ribbons…! My fave! Such a versatile material to use and so “touchy feely”, and if bought from local sewing shops fairly inexpensive too!

So here are some ideas as to how to use ribbons:

  1. Using straight strips across the page. This can be all the way from side to side or just short strips. And you can place the ribbon OVER items too such as across the photos on your page. (TIP – if you struggle to add double sided tape neatly to a ribbon, try putting a strip of adhesive along your page first and then lay the ribbon down onto that). Try also sewing strips either by hand or using a machine. And try also placing a buckle (or similar) or even just tie a knot somewhere along the length for added interest.
  2. Tied as bows for stand-alone embellishment, or tie threaded through buttons.
  3. Tied through holes in tags or labels, or through eyelets on pages.
  4. Stapled onto photos, great for hiding something ugly in the background of the picture. Stapled onto your pages, either small pieces or whole lengths wrapped and twisted for extra interest.
  5. Wrapped around the bottom of a photograph or wrapped around a page accent.
  6. Chipboard elements can be livened up with a wrapping of ribbon.
  7. Threaded through square punched holes along the side of a photo or cardstock.
  8. Twisted and secured with brads of a complimentary colour.
  9. Intertwined with embellishments such as flowers, buttons and brads.

Monday, February 18, 2008

Embellishments for free!

Here is an article about keeping a look out for those freebies all around us! The article is from Scrapbookingfamilies.com

Collecting Non-Traditional Scrapbooking Embellishments
by
Nicole Humphrey

Scrapbooker's are constantly on the lookout for new and innovative items to use or try in their scrapbooks. This carries over even beyond the local craft store and scrapbooking store. This happens when they are browsing the local dollar store, or the local hardware store. But what about looking around your own home?
We had a pile of clothing set aside to donate. It had been sitting there waiting for me to go through it, because I knew there were some pieces that just wouldn't be good for someone else. Some had missing buttons, holes in the knee, tears on the sleeve, stains on the front, etc.
Finally a few days ago, I underwent the task of going through it all. Mostly so I could get it out of the house. But while I was making a pile of clothes to trash, I realized something. Some of them had really cool buttons, and some had designs and pockets and lace and all these other coveted items that I love using in my albums and on my layouts.
So what did I do? What any sane scrapbooking gal would do. I grabbed a pair of scissors and cut and cut and pulled and trimmed and placed them in baggies for future use. I figure not only did I frugally make an outfit last a LOT longer than it would have, like years in my albums if you want to get technical. But I also was able to obtain some scrapbooking supplies, basically for free.
All together I collected several pockets I will use as pockets on the page. I also collected a couple of belt loops, because they look super cute with ribbon strung through them. I also collected any buttons, beads, and other clothing embellishments to use as scrapbooking embellishments.
Here is a sample of what I did, as well as a baggie full of embellishments off one of the outfits.
Nicole Humphrey writes articles for the
Scrapbooking Blog and for the Frugal Blog. She also guest blogs on a variety of topics.

Thursday, February 14, 2008

Page Accents - Use up those scraps

The theme for my crop this weekend is Page Accents. I did a workshop about them last year at ScrapBuddies and I think most of the group got on well with them.

The great thing about them is that it is a good excuse to use up all those scraps. Things like odd alphas and left over bits of sets of embellishments can be used up willy-nilly!

There are a number of ways to get started with Page Accents, but I have found the best way is to collect some bits together based on colours first. Them make up some accents large or small with the colour as your starting point.

Another way is to pick out a particular embellishment you wish to work with and find items and papers to match in with it.

I find it best to stay away from specific themes, ie, baby, holidays (vacations), etc. You can always add specifics when you use the accent on a page or card. Words like "inspire" or "fun"... ambigious words, are good to use as they can cover a multitude of themes.

Best thing to do is just gather your bits and tip them all out on the table and dive straight in. And another refreshing thing to take advantage of is to try to make them up as you go along! Don't plan too much, as I have mentioned before. Grab bits, throw them together, stick it together and then look! It's a good way to "just do it" - and besides if it's really that bad... you've only used scraps!

Sunday, January 06, 2008

Wet, or Glossy?

These are some flat stones I collected by a stream running through my sister-in-law's farm just inside the Welsh border.

Of course, when I picked them up they were dark and shiny because they were wet with either water from the stream, or dew.

But they dried out and were the matt finish you can see in the picture. But asI collected I knew that I had a product at home that could possibly work as a varnish, thus giving the look of the stones being shiny and wet again.

Et voila! I used Anita's 3-D Clear Gloss Finish (for liquid embossing). I'm sure there is a straight gloss finish that would work equally well, but I am still rather pleased with the end result. I plan to use the

pebbles on a layout about a previous visit to this side of the family, and of course, you will be the first to see it!

Whilst I was at it, I decided to "gloss" a large maple leaf I had pressed from last year. Not sure I like the plasticky look to the leaf now, but I will be using it on a layout too, and I do like the way it brings out the veins... what do you think?