Wednesday, April 30, 2008

Basic Grey - Boxer Birthday Card

Here's another card I made recently.

It's made using the patterned paper from the Basic Grey "Boxer Collection" - 6x6" pad.

Used the paper tearing technique to build up some layers, then added the glitzy brads and metal tag, which I stamped using Black "Stayzon" Ink.

"Happy" and "Birthday" are stamps from Anna Griffin and the letters making up "Louise" are a recent acquisition via QVC.uk.com (the shopping channel).

From a set called "Antique type stamps" from Dimensions-crafts.com, a US company.

Tuesday, April 29, 2008

Birthday card using Basic Grey Papers

Well as my mum has received her card... I can show it to the rest of the world now!

I 'went to town' on this one a bit! I found that the Basic grey papers from the "Blush" Collection complimented the brooch which I had found in a charity shop (some time ago!) . So I built up the card from those to elements really.

As you can see from the second photograph, I made sure that the diamond was "backed" so as not to show all the "gubbins" of the ribbon and eyelets and the fact that I did have to "sew" some copper wire around the brooch to make sure it didn't fall off as it is quite heavy. And I had long since clipped off the pin at the back of the brooch.

Inside I used a flower mounted on the same type/colour card as on at the front for some continuity. And it helped tidy the back view of the front diamond.

So as not to cover-up the patterned paper on the inside of the car I wrote the greeting onto vellum and used brads to hold it in place.

This of course, was all done before sticking the patterned paper to the card itself.

Monday, April 28, 2008

Making a Scrapbook from an Artist's Sketchbook

In our quest for more places to put our scrapbooking endeavours, we come across items which are usuable - with a little adjustment that is.

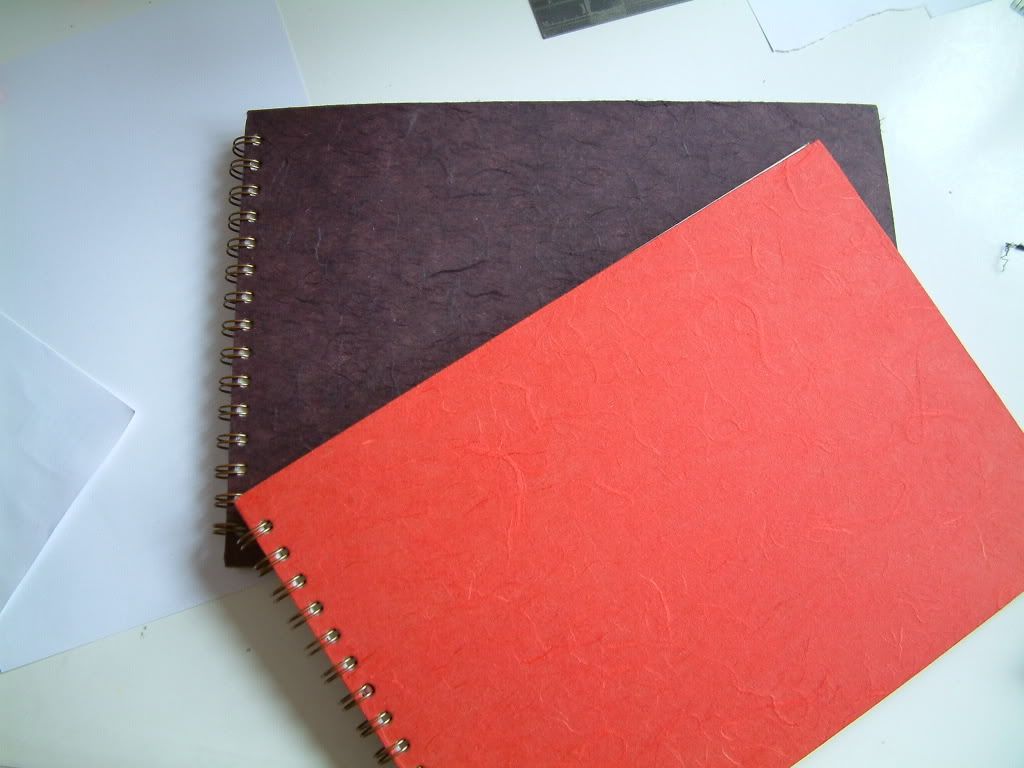
Here are a couple of Artists sketch books I bought from a local shop.

Now of course, to simply add our pages to these ring bound pads would mean very "fat" books indeed, however... as Baldrick from Black Adder says....

"I have a cunning plan!"

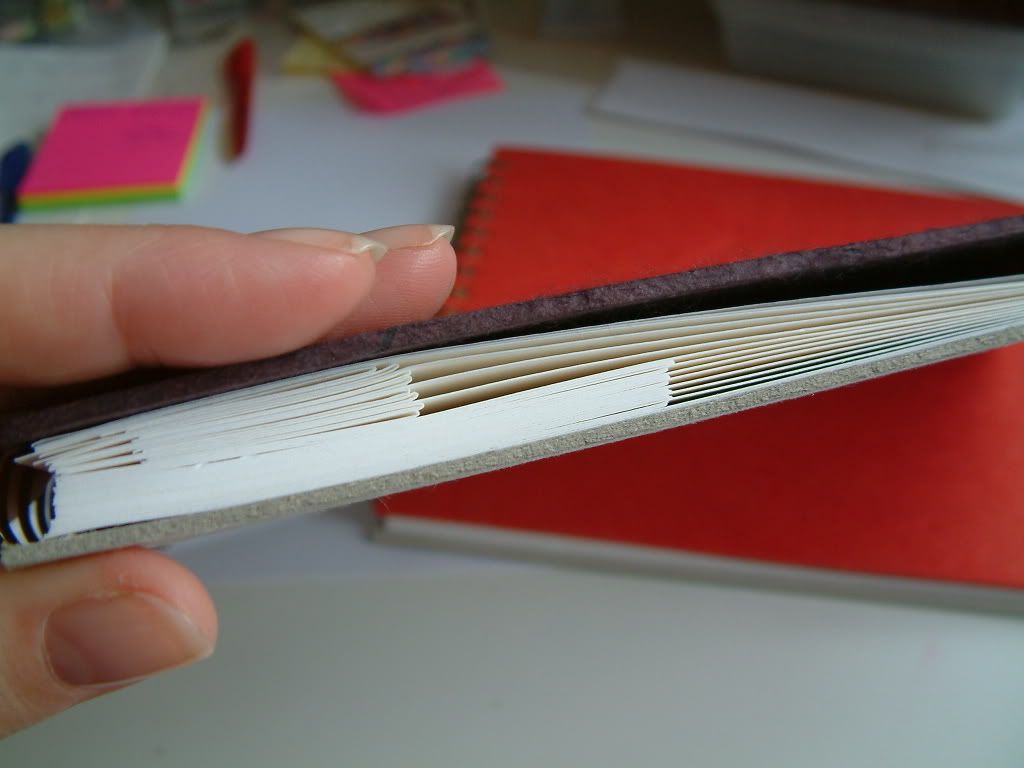
I reduce the pages by cutting out 2 of every three pages. This leaves 12 pages (so 24 sides) in these particular books.

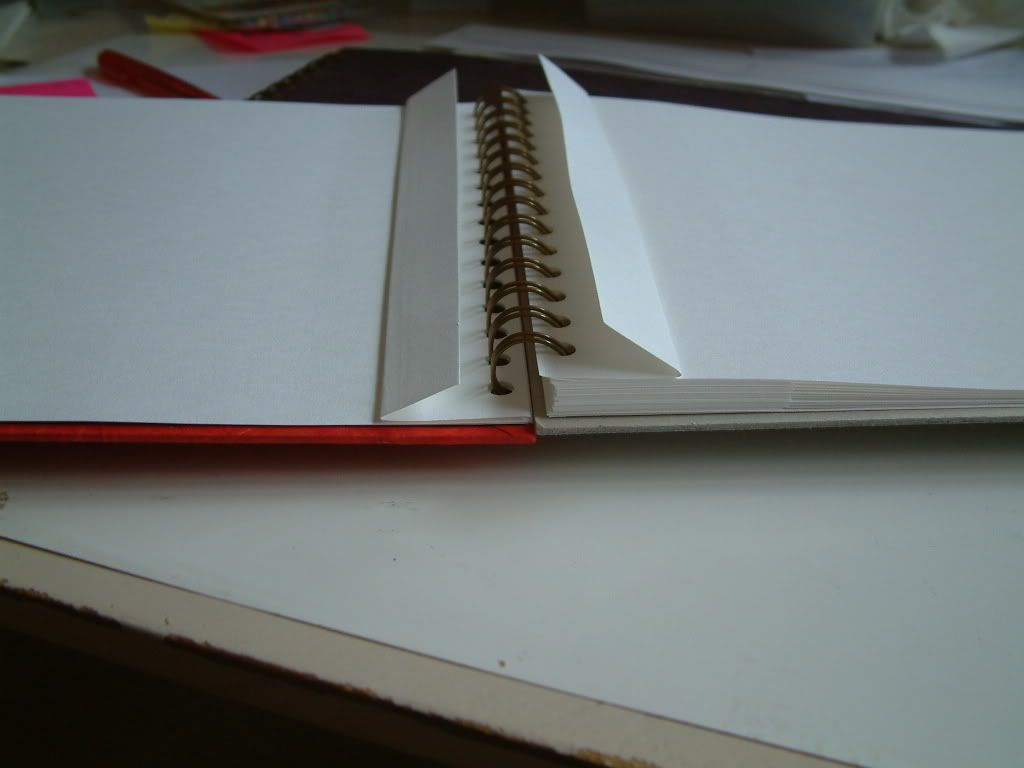
To add dimension to the spine (padding for that end of the pages) I didn't cut out the whole pages, instead I left around 2.75" or 7cm and then folded each in half. This gives some support near the spine for each of the pages... neat huh!

The top picture shows the 7cm strips left after cutting and the folded pieces (above them).

As a tip, fold the pieces in towards each other as there are 2, and you can even adhere the 2 folded pieces together.

Sunday, April 27, 2008

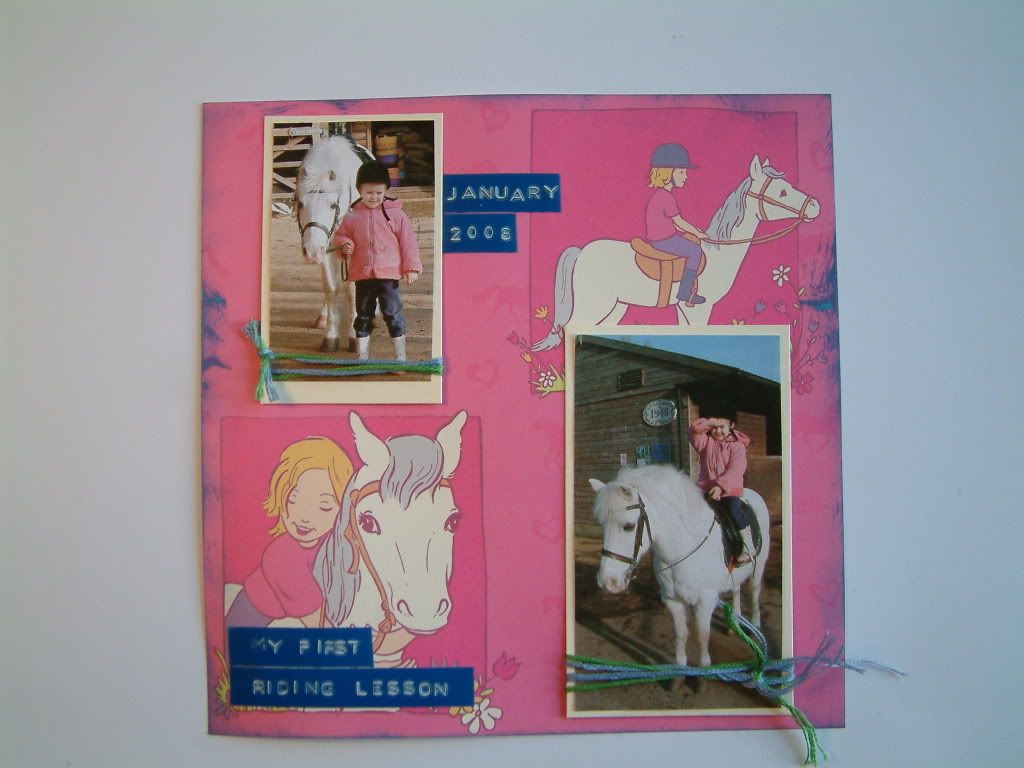
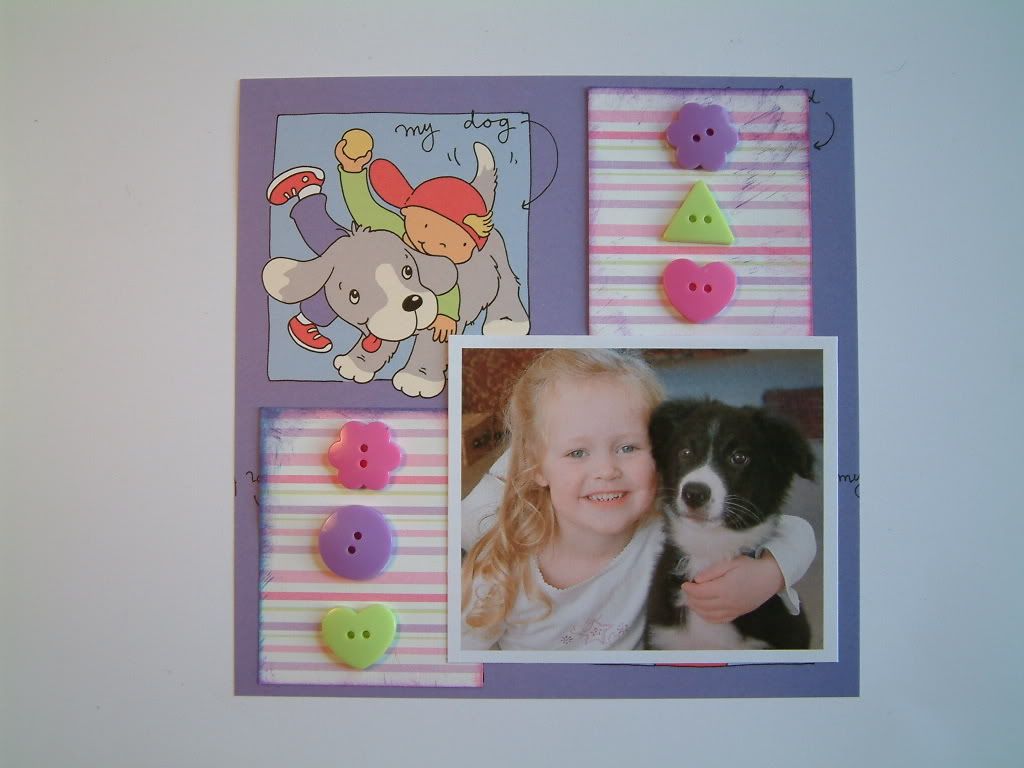
Here is another page I made recently for my 4 year old daughter.

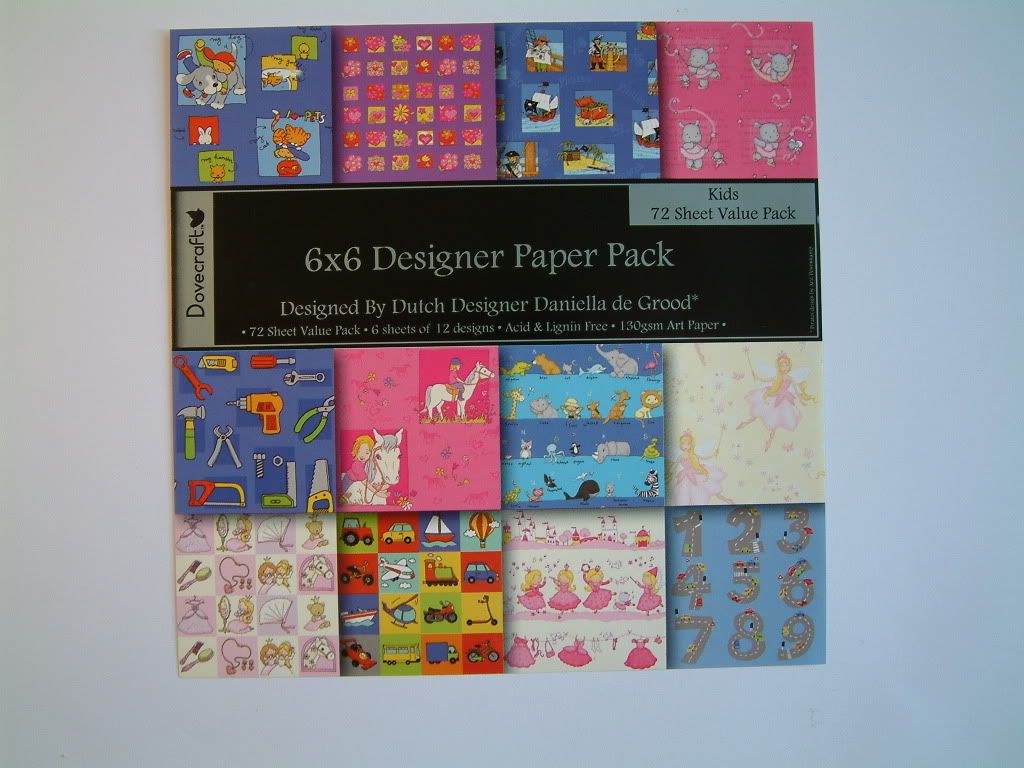
This is another 6x6 background paper from the set from Dovecraft (see picture below).

This Page follows on from yesterday's post, and I have used the hole 6x6 paper for the background.

However I will mostly likely mix just pieces/strips of the other papers to plain cardstock as the rest are "even busier"!

But these papers are great for creating fun and (a much used modern word..) funky for kids.

Again the photos have been printed onto ordinary paper and not photo paper, then mounted onto cardstock and some threads wrapped around, plus the title and date written my a Dymo.

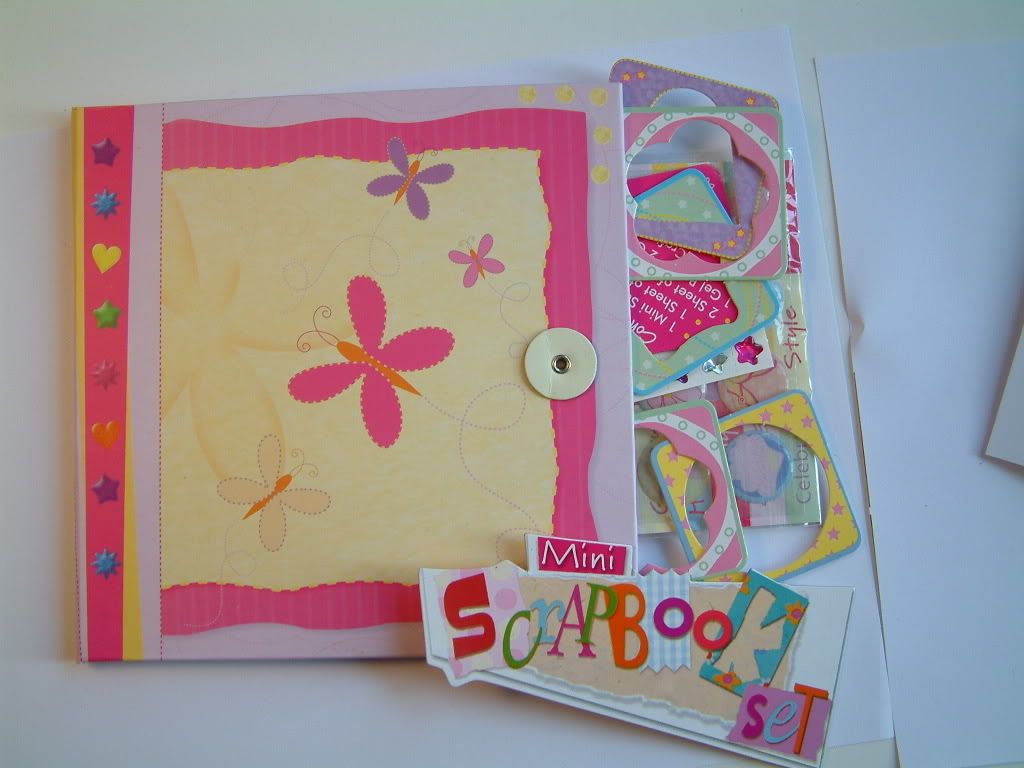
Simple, but fun for daughter, as she will be able to keeo the album to play with. The album is one I found in the local "pound" shop... a scrapbook for children... It has nice stiff covers so hopefully will protect the inards!
It has been particularly interesting for me, as it has forced me to keep it simple and scrap "for" a youngster instead of what I would like!

Saturday, April 26, 2008

Scrapbooking FOR children

The heading to this pose may infer that this is about getting children to scrapbook!

It's not actually, this is about making scrapbook pages for children that they would appreciate "now", whilst they are still young.

I let my daughter thumb through my scrapbooks as she enjoys looking at all the lovely things... not to mention looking at herself (in the photos)! However, I have to supervise of course, as with all the will in the world, a 4 year old is not the most careful of viewers!

So I have decided to make up some pages for my daughter (about her of course) which she can have all to herself, and maybe take to school to show friends and teachers.

I have kept the pages very simple and have started using 6x6 papers from Dovedraft.
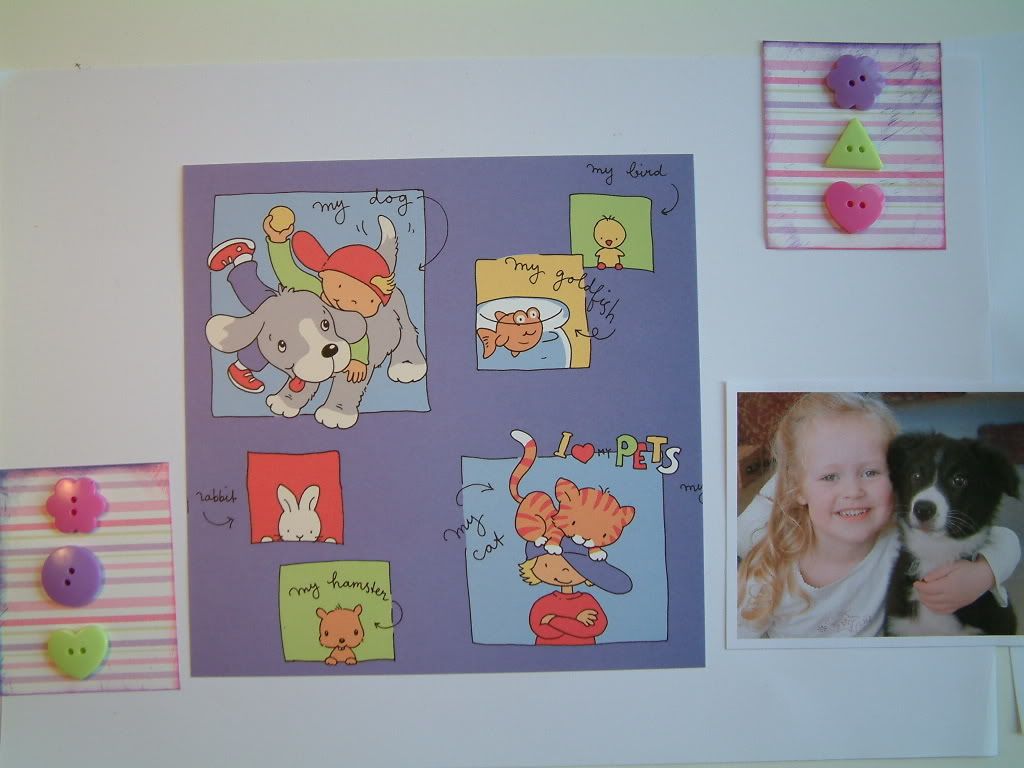
For my liking they are too busy with their own designs, so as you can see here I have "fiddled" with them to simply.
Firstly all the photographs have been printed onto standard paper, as opposed to photographic paper.
Then I have covered some of the graphics with patterened paper, so that the graphics are not competing with the photograph.
Another page coming tomorrow!

Friday, April 25, 2008

Using Ribbons on Scrapbooking pages

I took some photographs of a couple of the ScrapBuddies members' work last Saturday (the workshop was about different ways of using ribbons on layouts).


You can see the examples in the previous couple of posts on this blog of my demonstration, but here is the work of the ladies themselves.
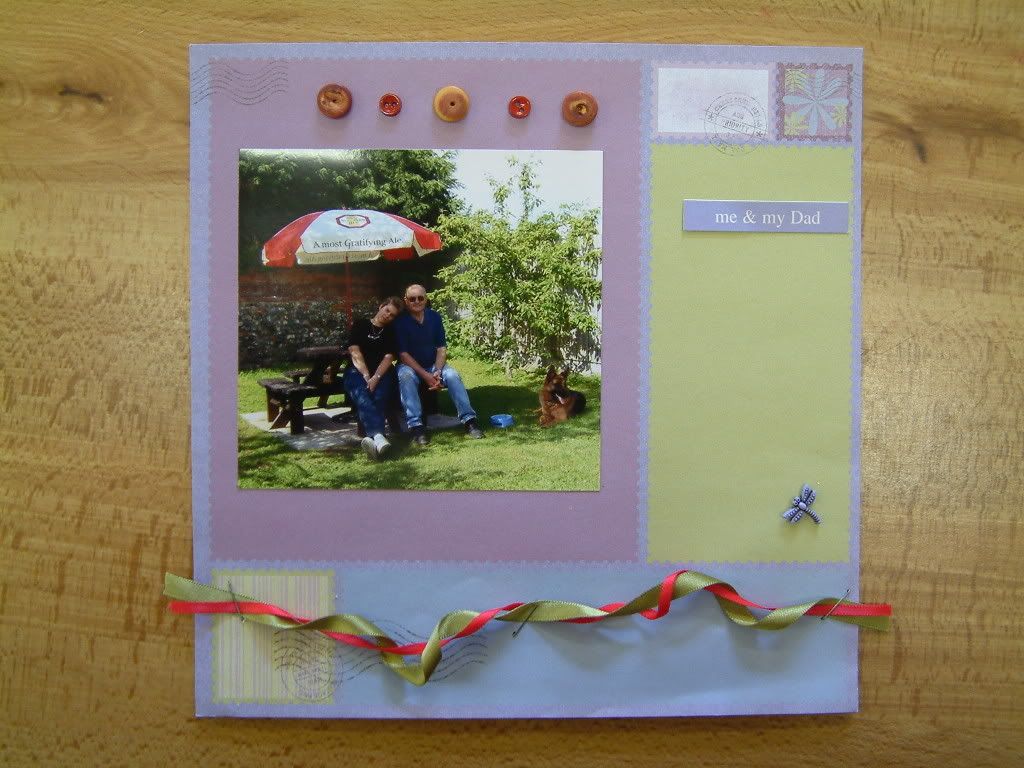
The top picture is of Sheila's page... she has used my hole punch along the bottom of the photograph, but rather than a simple threading of a single ribbon, Sheila has threaded two ribbons.
In the second photo, a layout by Beryl, the twisting and stapling technique was used (the expanse on the right was left for some journaling to be completed at a later date).

Wednesday, April 23, 2008

Stapling and Twisting Ribbons

This picture is another page from the "In the Mirror" Album.

I will post the whole thing when it is completed, something I hope to achieve in the near future! LOL!

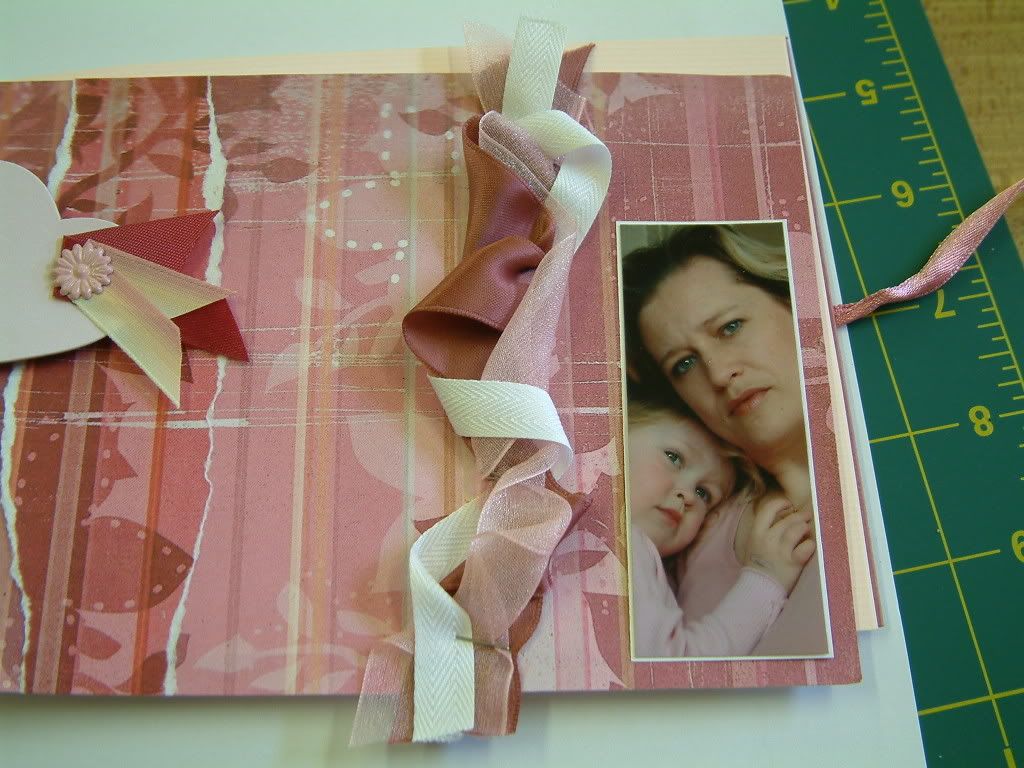
Anyway, these ribbons (again used as part of my demo last Saturday at the ScrapBuddies Crop) have been attached to this page using a stapler.

You can just about see a couple of the staples, however, a little trick to hide them is to staple at an angle to the ribbon and then twist the ribbon back on itself, thereby covering the staple.

Another way of covering the staples is to glue or sew buttons over them.

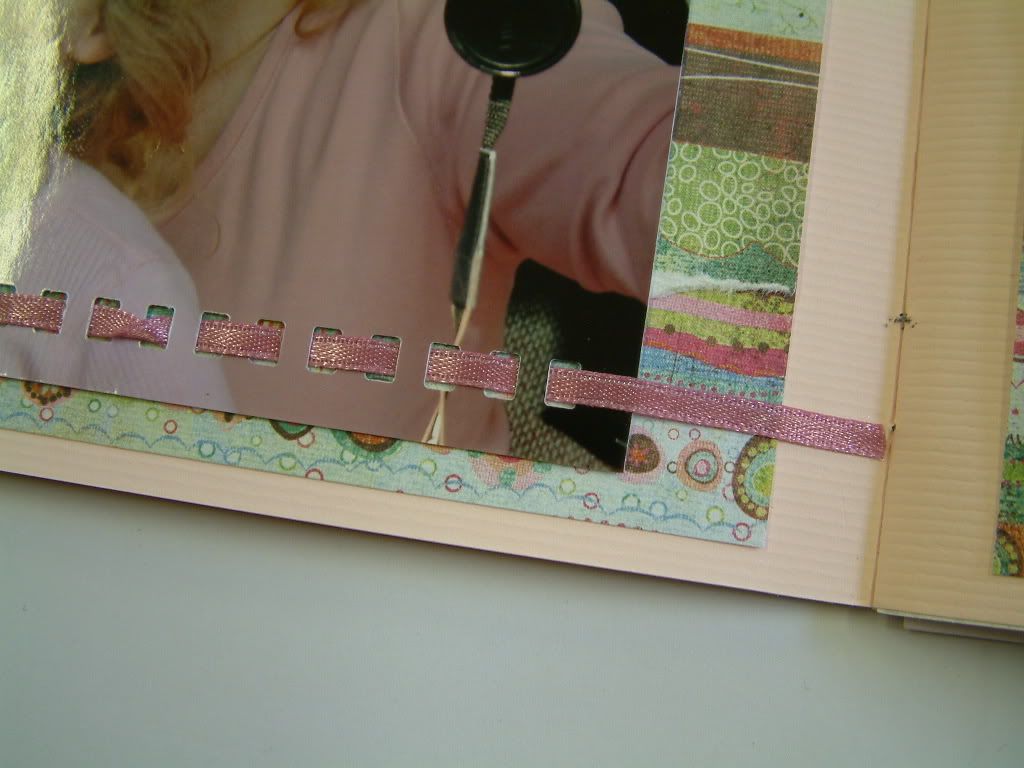
Threading Ribbons

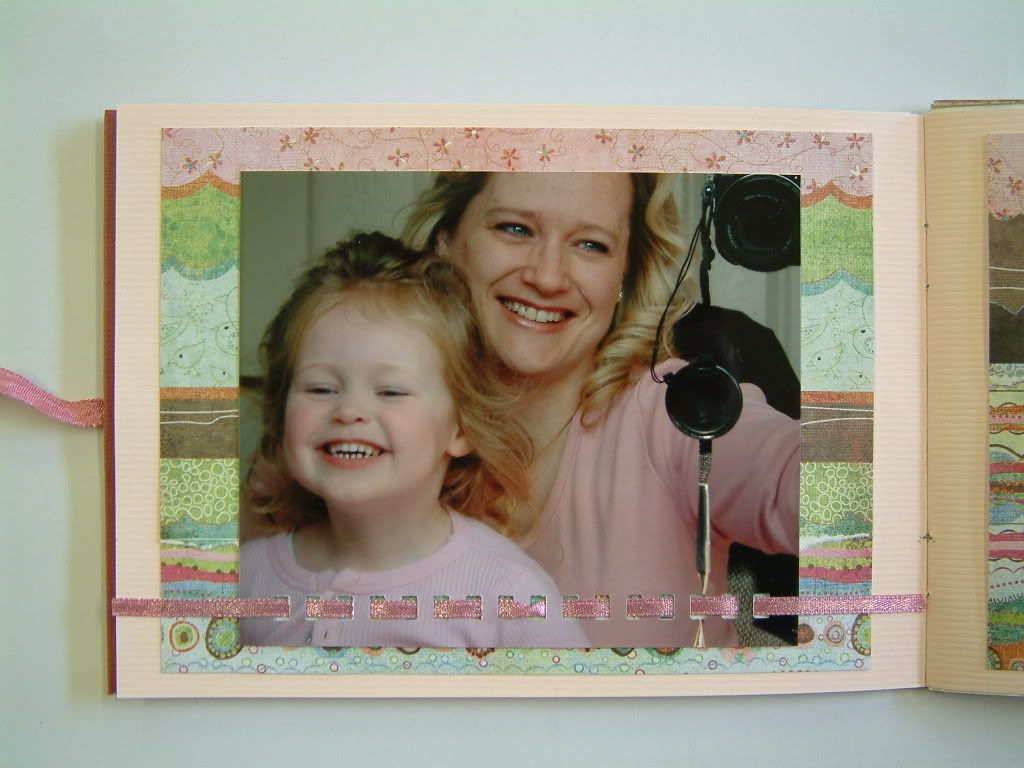
This is a page from my "In the Mirror" Album which I used as an example at my demo last Saturday.

I used a punch to punch out the holes along the bottom and then ran the ribbon through.

Just for a little bit of interest I twisted the ribbon once in the middle. Both ends are secured with a thin layer of PVA glue, just to hold them down!


The right hand side of the DPS I have used the same technique, but only on the right hand bottom corner of the photo, which justs adds a bit of continuity across the DPS. See bottom picture.


Tuesday, April 22, 2008

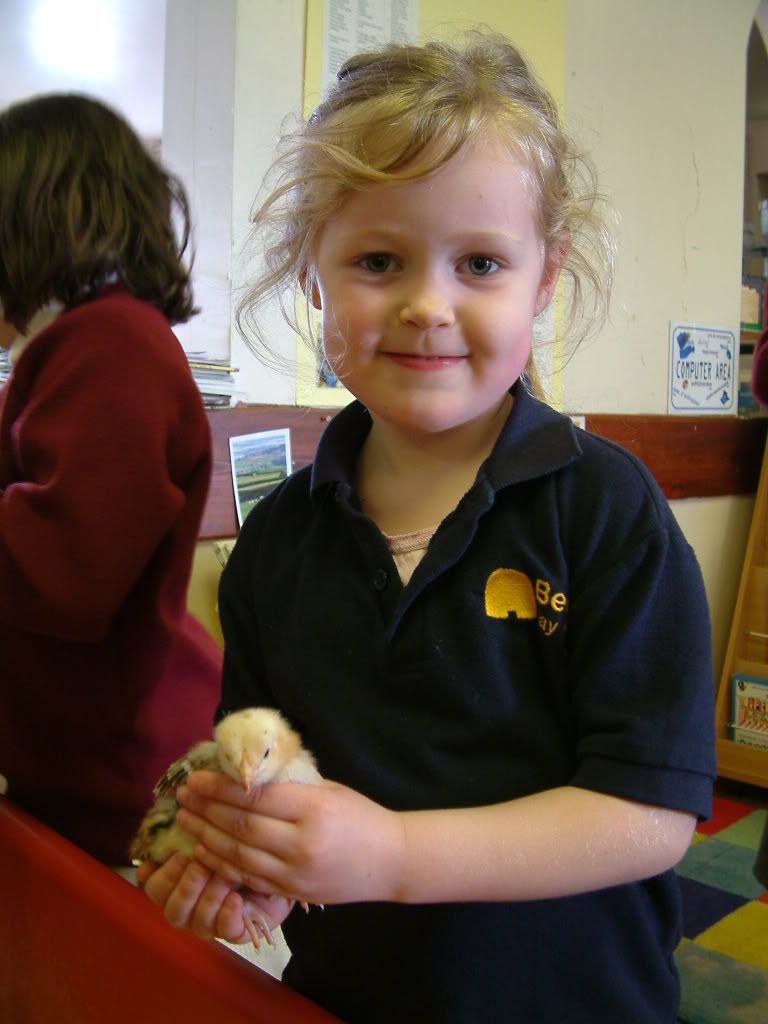
Chicks!

Get ready to say "Ah" !!

This is my daughter with one of the chicks which hatched at her nursery!

They have actually gone back to the farm from whence they came (as of today) but they were really cute!

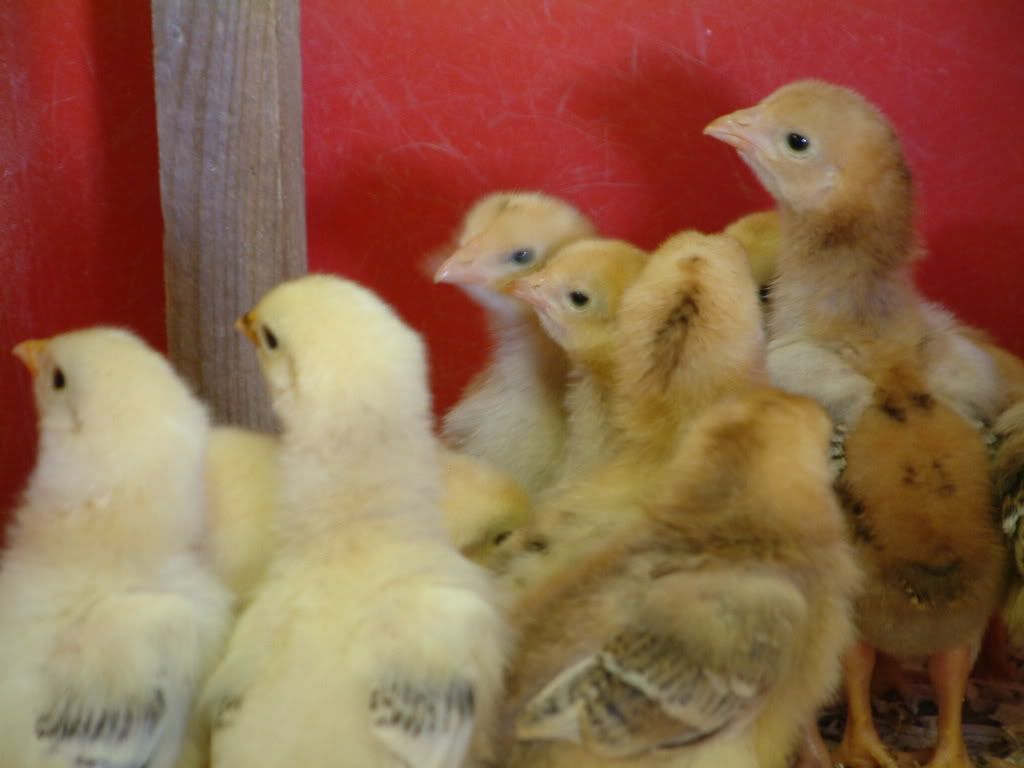
They grew very quickly from wobbly new borns (or should I say hatches!) to feisty little things with proper feathers sprouting - you can see the adult feathers showing on their wing tips.

It was great for the children to see the eggs as they were developing in an incubator and then to watch them hatch... what a treat, and of course all the mum's and dad's had a good look too! LOL

So..... did you say "ah"???


Monday, April 21, 2008

8x8 Layout using Freebie Simply Visual background paper

As promised here is the quickie layout I created using the freebie I posted yesterday.

The other papers are from my stack of scraps, then there are a couple of ribbons and 2 dragonfly brads... finished.

I could have put on some swirly chipboard, but then I stopped myself, and let the background image "do the talking"... doesn't need any more!

Sunday, April 20, 2008

Simply Visual Scrapbooking Freebie - Phormium Background

Here is a link to the download page for my latest, and very quick, creation. It's an 8x8" background paper, so suitable for printing out onto A4 paper.

I have done exactly that and am in the process of making a quick page which I hope to show you tomorrow.

The photograph on the patterened paper is of a Phormium (type of grass like plant) which I purchased from a local garden centre today! It is one of my favourites as I love the strong pink wide stripes down the length of its leaves!

Anyway I have decreased the opacity of the photo so that it didn't overpower any layout and I have "digi-inked" the edges a little.

So enjoy. Download a copy.

Saturday, April 19, 2008

The simple page from yesterday

Well Blogger is finally playing ball with the picture uploads so here is the picture that should have gone with the post from yesterday!

Ahhh... it's he sweet?! My husband that is!!!!!!

The page is 7x5" and the left half has a printed vellum over it fixed with ribbon either side.

The colours were chosen as mother-in-law likes yellow and so I made her a yellow 5x7" album, so a lot of the initial pages were oranges and yellows. And although the picture is black and white I know that my hubbies hair, when he was a boy, was ginger - so the orange fits that too!

Friday, April 18, 2008

Simple Pages

Well I always try my utmost to have a picture on each post on this blog, but unfortunately Blogger is having none of it this evening! So no picture for the moment!

I was going to post a very simple page, which is actually 5x7" and for an album I made my mother in law.

The picture is of her darling son as a little boy (who is now my husband of course!).

The reason for the picture was that is was a simple layout, yet still effective and that is the theme for May's ScrapBuddies crop (tomorrow's is about Ribbons). I have bought the "Clean & Simple Scrapbooking" books by Cathy Zielske, and they are soooo simple, that my ladies will be able to make up a page, if not 2, by the end of the session!

Thursday, April 17, 2008

RibbonTastic!

My demonstration/workshop at the ScrapBuddies crop this coming Saturday will be all about Ribbons!

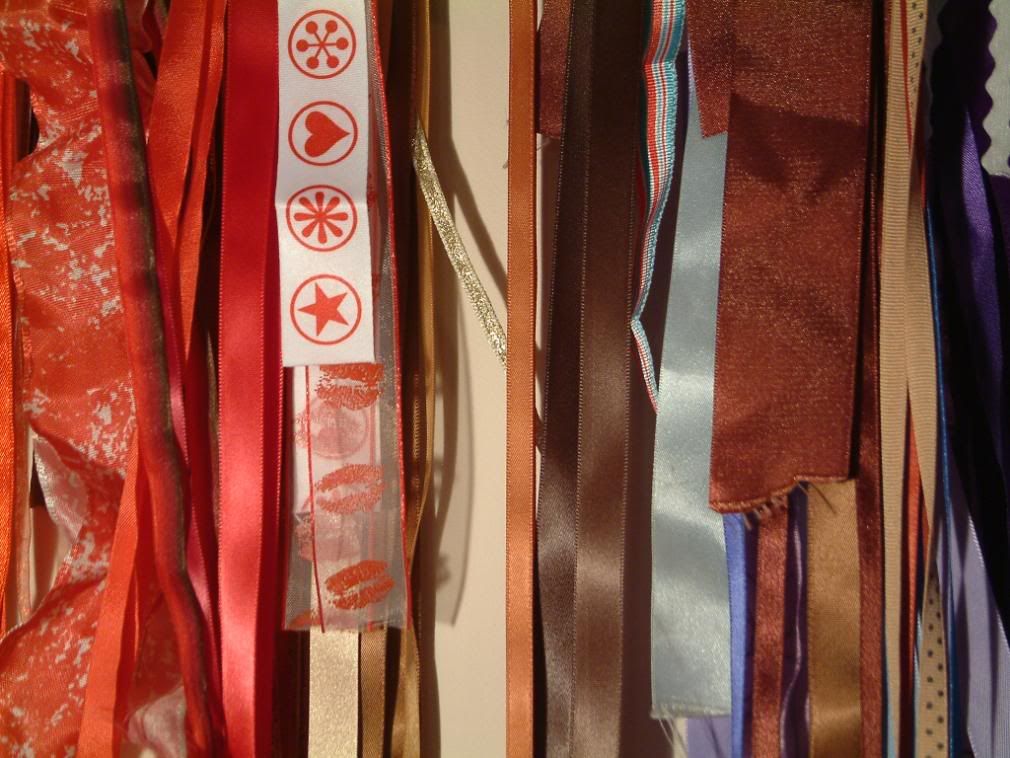
Ahhh… Ribbons…! My fave! Such a versatile material to use and so “touchy feely”, and if bought from local sewing shops fairly inexpensive too!

So here are some ideas as to how to use ribbons:

  1. Using straight strips across the page. This can be all the way from side to side or just short strips. And you can place the ribbon OVER items too such as across the photos on your page. (TIP – if you struggle to add double sided tape neatly to a ribbon, try putting a strip of adhesive along your page first and then lay the ribbon down onto that). Try also sewing strips either by hand or using a machine. And try also placing a buckle (or similar) or even just tie a knot somewhere along the length for added interest.
  2. Tied as bows for stand-alone embellishment, or tie threaded through buttons.
  3. Tied through holes in tags or labels, or through eyelets on pages.
  4. Stapled onto photos, great for hiding something ugly in the background of the picture. Stapled onto your pages, either small pieces or whole lengths wrapped and twisted for extra interest.
  5. Wrapped around the bottom of a photograph or wrapped around a page accent.
  6. Chipboard elements can be livened up with a wrapping of ribbon.
  7. Threaded through square punched holes along the side of a photo or cardstock.
  8. Twisted and secured with brads of a complimentary colour.
  9. Intertwined with embellishments such as flowers, buttons and brads.

Wednesday, April 16, 2008

Black White and Red Scrapbooking Layout

This is an 8x8 page I made of our 2 dogs. We did, for a few years have 4 dogs! But as soon as Toffee (the Jack Russell) arrived on the scene... Harley... the Labrador became "Big Bruv"! and they have slept together ever since!


Well apart from when she kicks everyone out of bed because she is in a bad mood due to being "in season"!!! LOL

Anyway, As the dogs are black and white I thought I could get away with any colour scheme to scrap them in, but then there was the very RED rug!

Tuesday, April 15, 2008

Circle Journal - theme "What's Your Style"

This is the Circle Journal (CJ) from Sally, the member of my team who it "above" me on the CJ list!

Her CJ's theme is "What's your style" as in scrapbooking... not fashion! LOL I think I might have a bit of trouble with the latter!

The photos show Sally's own DPS and the Rules page and Sign-in cover.

I do like the pink and pale turquoise colour combination.

Now all I have to do is add my pages (DPS) and complete a tag on the sign in page!

"All..." she says! rolling eyes!

The trouble is I don't have a style... I like to try all sorts of things... to me a "style" just means they repeat the same sort of thing which can be a bit boring... So whatever I decide my style is... it is only at this current moment... I have always moved on to new things, so my style may have changed by this time next year!

Monday, April 14, 2008

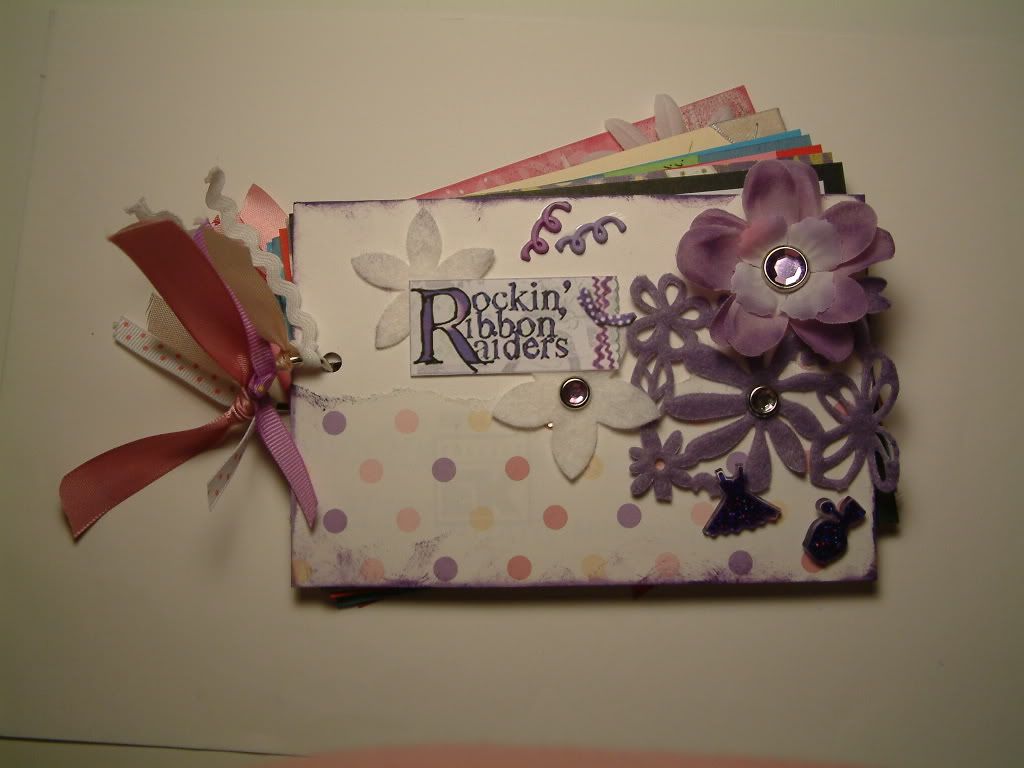
Tag book cover

This is a cover I made last night for my RRR Team tag book.


"Ok... What's that?", I hear you ask!

Well The RRRs are the Rockin Ribbon Raiders Scrapbooking Team on UKScrappers!
We all decided to make a team members tag book by making up some tags about ourselves and distributing them to each other... so now (apart from the covers) we all have an almost identical set of tags. Well that's the theory anyway!
I was a bit of a "Get to know you" process for us as a new Team.
Anyway, I was the member who offered to be the "sorting office" for the project! And as a little thank you a couple of my fellow members sent some pressies of stash - which was very nice of them!
So I used the purple collection of bits and bobs one of the members sent to make up the cover for my tag book and this is the result!

Sunday, April 13, 2008

A Scraps Page Accent

You may well have heard of the TIP that before you tidy away your bits and pieces after finishing a scrapbooking page layout (or any other project for that matter) you should use some of the scraps to make a card or two!


Well, you don't have to make a card! You can, as in the picture, make a page accent! This can be used on a future page or use the page accent as the basis for a card!

The accent in the picture... I will probably use it on a card (or a page) for a man - despite the pink bits!

Saturday, April 12, 2008

A quick card made from scraps

Here is a card I have just made using up scraps (pictured below). Took about 40 mins I suppose, which included finding the stash to match the scraps of paper... which is from the 8x8 pack of "Amethyst Floral Prints" from Dovecraft.

Most of the scraps were just put onto the card as they were, ie already cut to the size and shape you see. I added one eyelet, some brads with flowers and some heart brads, and some ribbon.

There is a space left blank for a greeting to be added... or just keep the "white space"...

I know..... are you itching to put something in there too! LOL

Friday, April 11, 2008

Organising your Pages to Be!

I was researching another matter entirely when I came across a website called OrganizedScrapbooks.com and thought this (pictured) was a great idea. If you go to their website there are lots of great ideas for all sorts of things, however this Page planner is a particularly good one.

They are available in printable versions and there are 5 different types... such as this is for a single page, and there is one for a DPS, and so on.

Now... I do keep bits and pieces together and sketch out ideas, but it's all usually on scraps of paper - so this is great... check them out!