This is the next instalment of the "why we should scrapbook ourselves"(WWSSO) series of posts.
Part 4 was about "Scrapbooking our Love". Creating layouts showing who, what or where we love most.
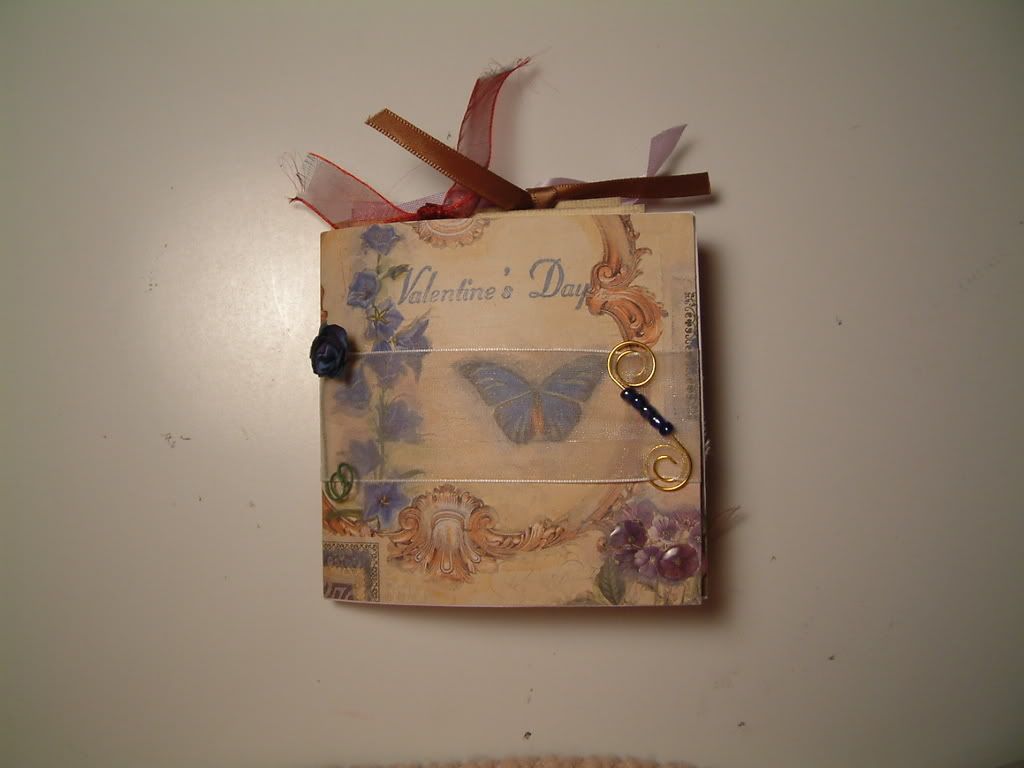
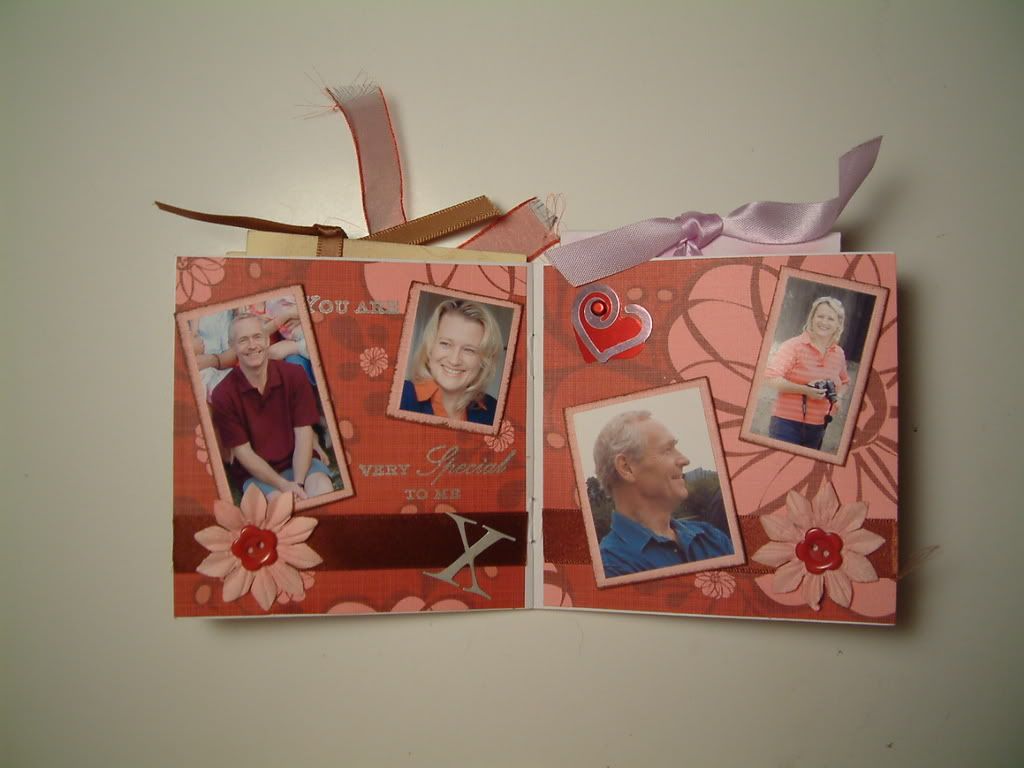
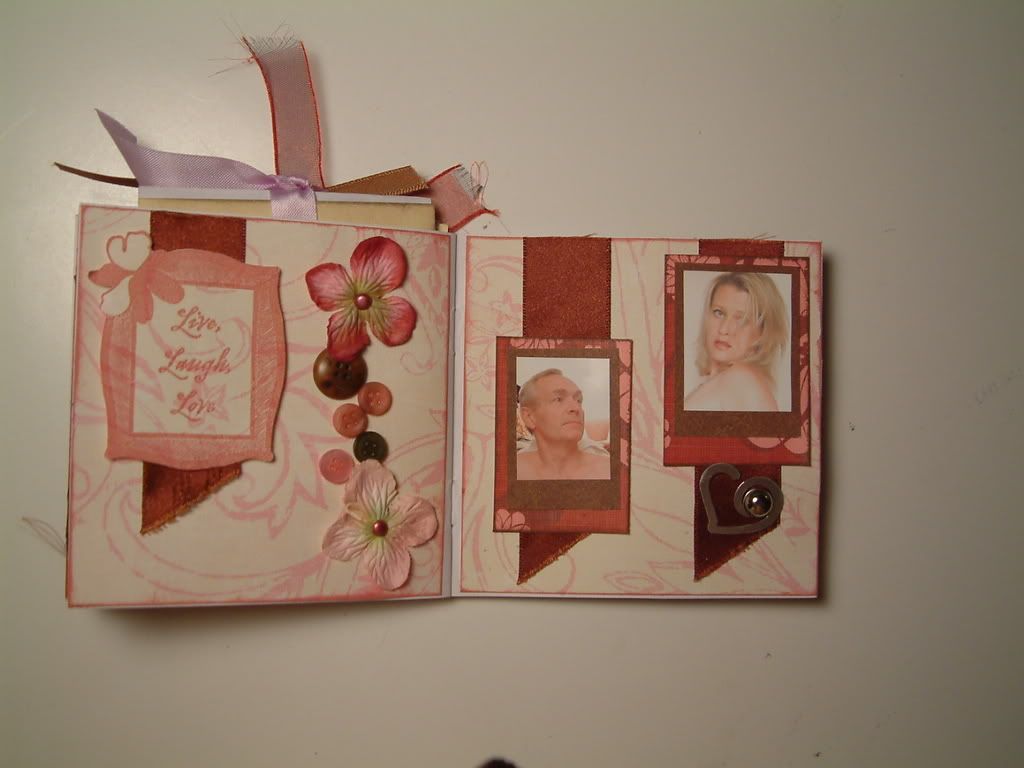
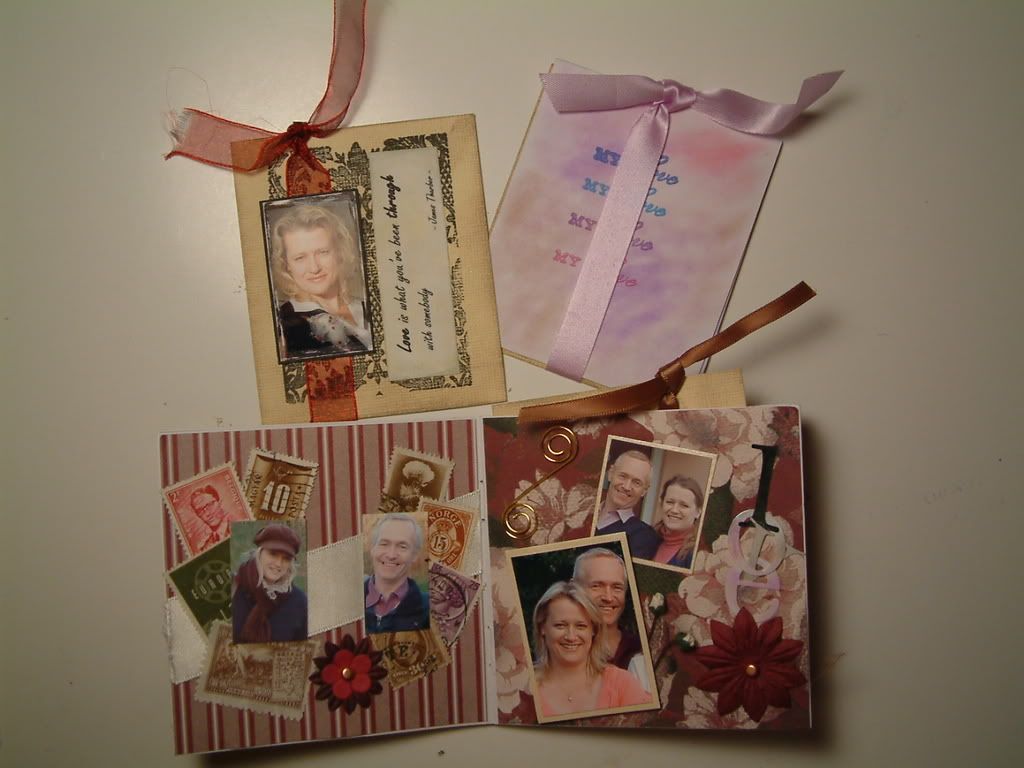
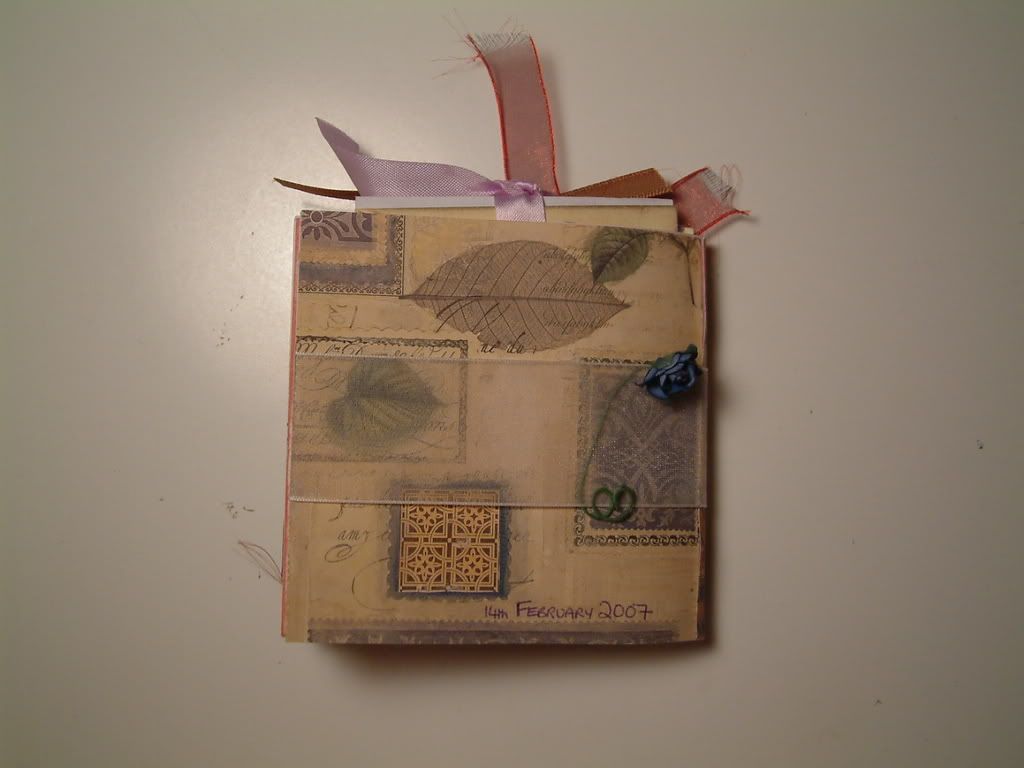
So this is about the Valentines mini album (as promised). I know I have recently posted my 2008 Valentine mini album, but this one is actually from last year.
I have included it in the WWSSO series because in these books I have also scrapbooked myself!
You see your husband/boyfriend/(girlfriend/wife for the men scrapbookers out there) want to "see you". Think about it... Isn't nice to have a good photograph of them? Don't you feel proud? Well it is the same for them?
We all have to "get over" this label - accusation if you will - of vanity. If you're caught looking in a mirror (other than when getting ready to go out, or similar situation) a flippant comment can be that you're vain? Quite often meant in jest, and often it starts from childhood. My daughter likes to look at herself in the mirror... family make little comments about it. All harmlessly meant, but it has an effect I think.
Society has made us feel self-conscious of our own bodies and faces and that it is bad to "look" at ourselves unless it's to get something out of our eye! LOL
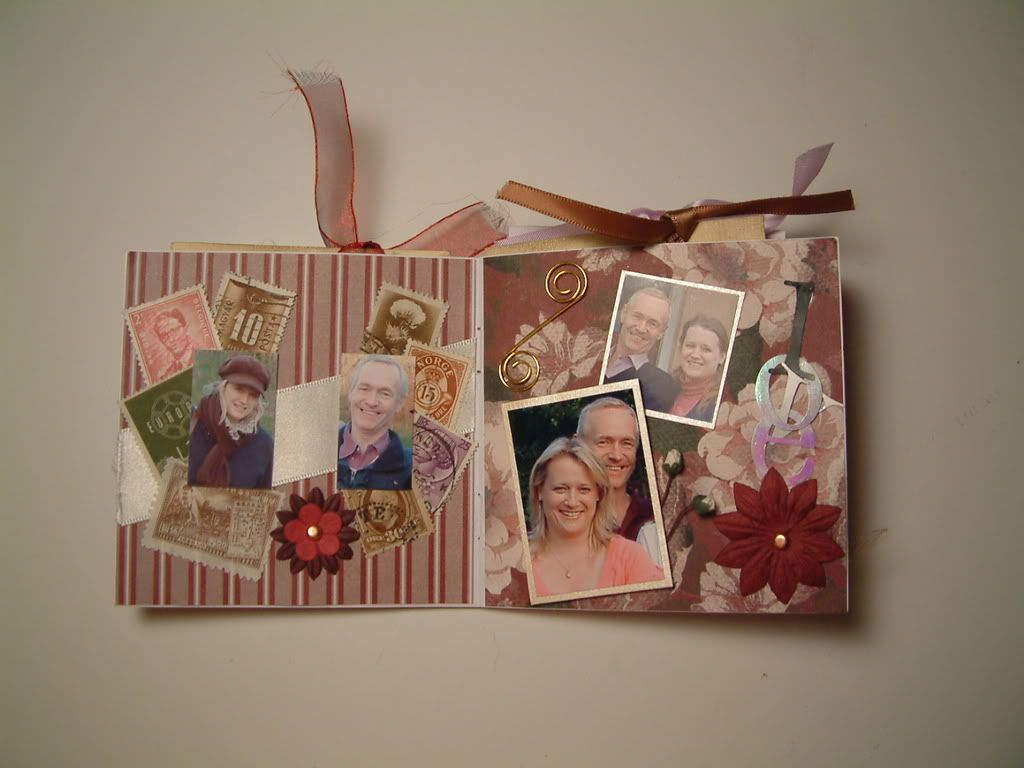
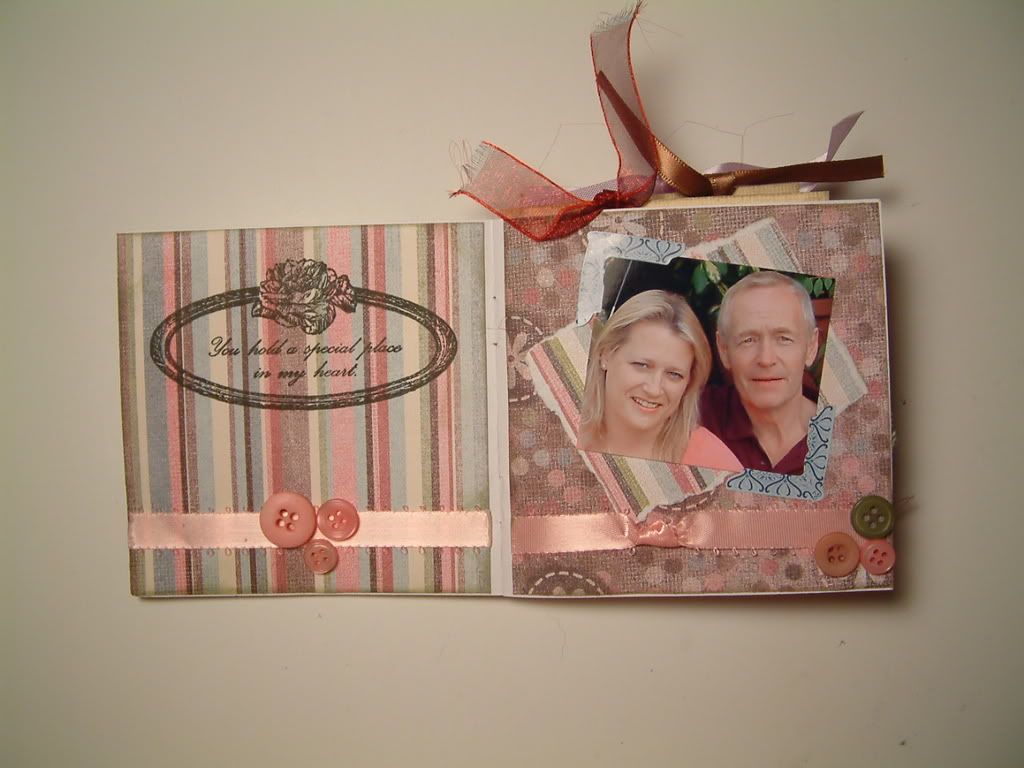
So... if you want to give your other half something nice for valentines, or anniversary, or maybe just to say Thank you, make a little album with YOU in it for them, Put in some of you and them together, even if you have to use two smaller cut outs from different photos, it's still inferring togetherness if you place them on a page together, right?!
I think you'll find the recipient will be pleased, even if he/she pretends that they dislike all your "arty-farty paper stuff"! And even if you don't do a whole album, just a nice photo on a card says so much more than just pretty colours and patterns and embellishments.
And it doesn't have to be for spouses, my mum likes to get pictures of her daughters and granddaughters, so I include up-to-date ones on her cards.
Come on everyone... Stop hiding and start showing!
I'll post the rest of the album tomorrow.

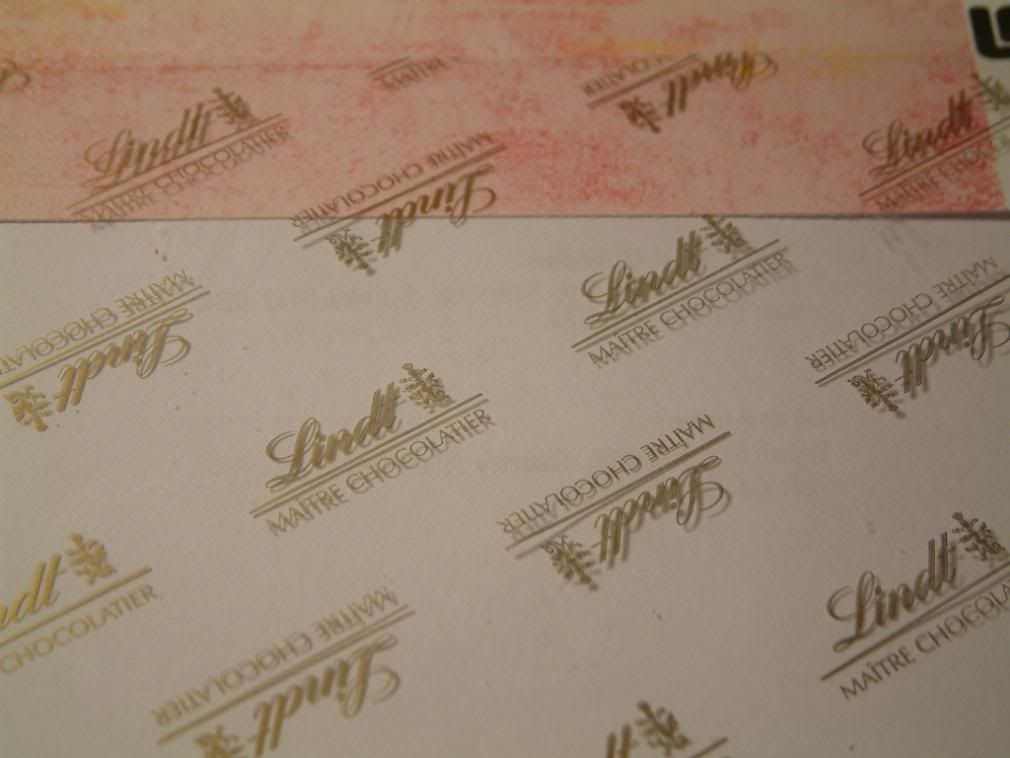
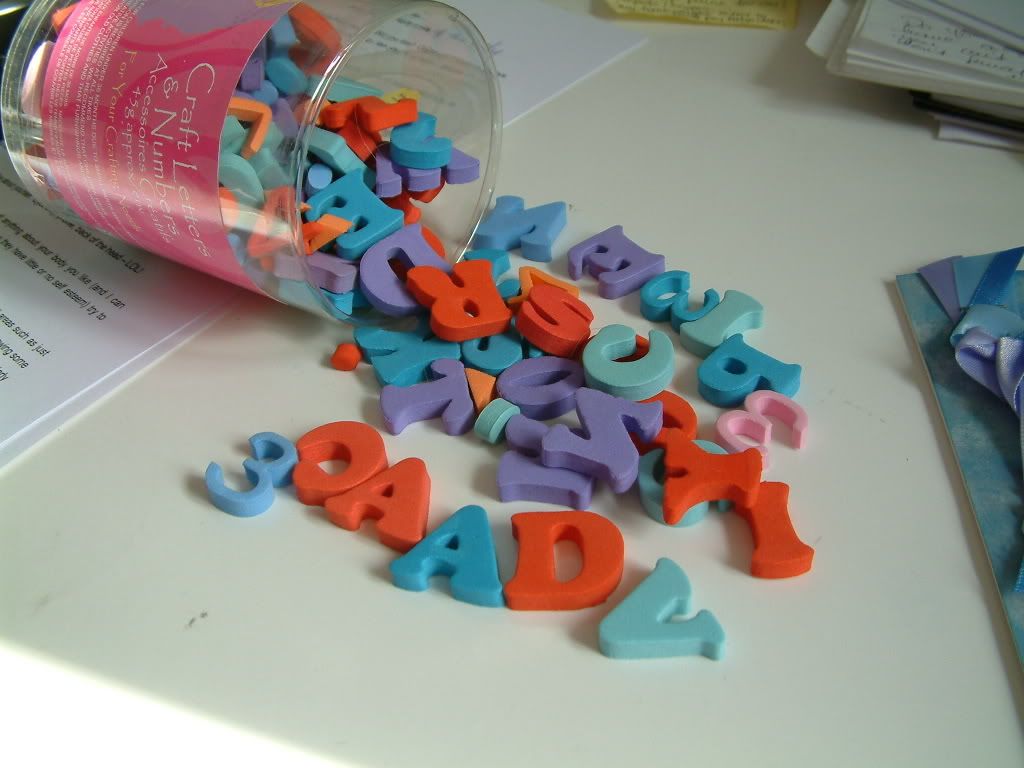 I realise that foam stamps aren't as expensive as rubber or vinyl, but they can still be a fair amount!
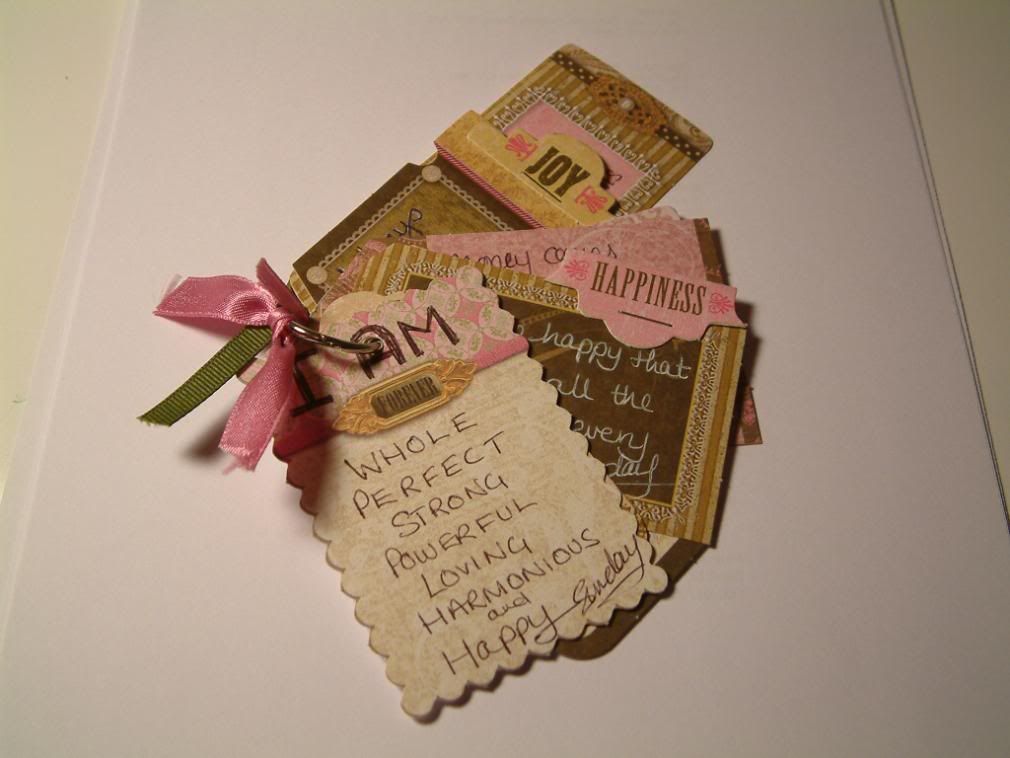


-Daddy-&-MeW.jpg)


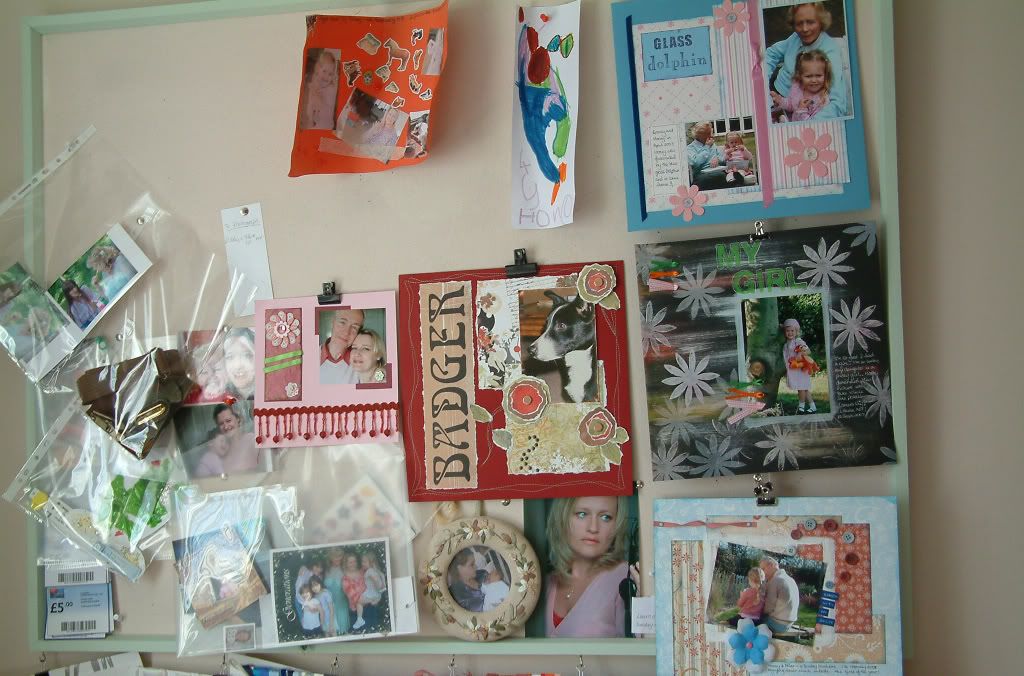
 There are 9 other people in my team... I thought actually that I might lift a layout from each of them!


+W.jpg)